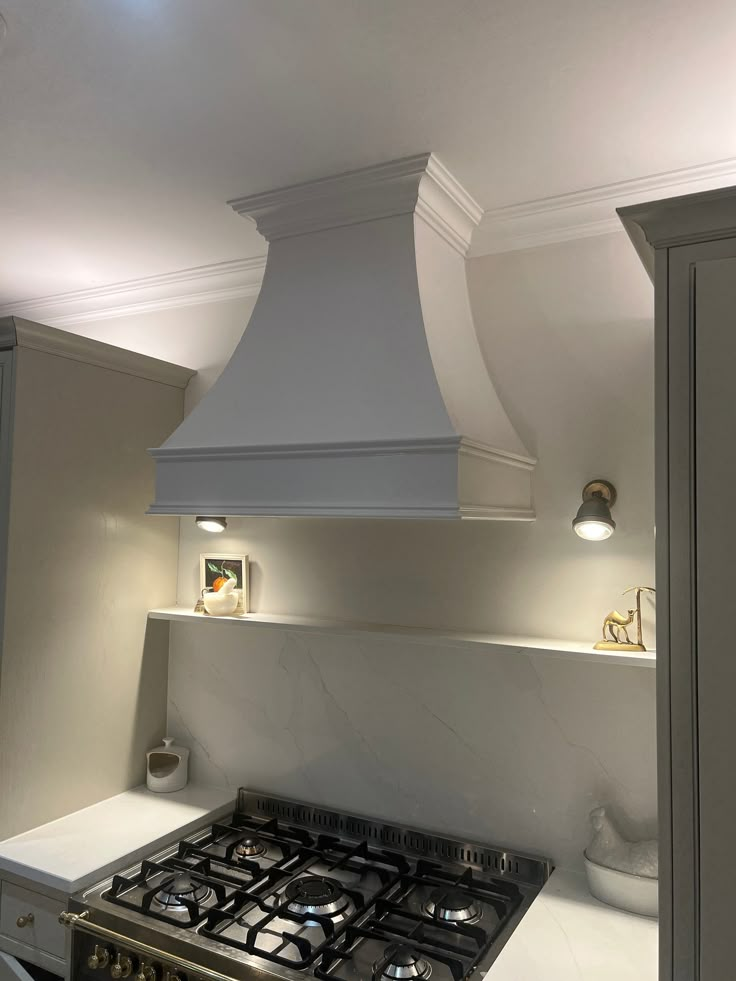
Installing an extractor fan in your kitchen or bathroom is a significant home improvement that can vastly improve air quality, control humidity, and prevent issues like mold and grease buildup. While it might seem like a complex task, with careful planning, the right tools, and a step-by-step approach, it’s a manageable DIY project for those with some home improvement experience. This guide provides a general overview of how to install a ducted extractor fan. Please note: Electrical work should always be carried out by a qualified electrician. If you are unsure about any step, consult a professional.
1. Planning and Preparation
Proper planning is crucial for a successful installation.
- Choose the Right Fan: Ensure you have selected a fan with adequate extraction power (m³/hr or L/s) for your room size and the appropriate installation type (wall-mounted, ceiling-mounted, or inline).
- Determine Venting Route: For ducted fans, plan the shortest and straightest path for the ducting from the fan to the exterior of your home. Avoid sharp bends, which can reduce efficiency.
- Gather Tools and Materials: You’ll need:
- The extractor fan unit and ducting kit (including ducting, clamps, and an exterior vent cover).
- Drill and various bits (including a large hole saw or jigsaw for cutting vent holes).
- Screwdriver set.
- Measuring tape, pencil, spirit level.
- Safety gear: gloves, safety glasses, dust mask.
- Caulk gun and exterior sealant.
- Insulation (if ducting passes through unheated spaces).
- Wiring tools (if handling electrical, which should be done by a qualified electrician).
- Safety First: Turn off the power to the circuit you’ll be working on at the main breaker. Use a voltage tester to confirm the power is off.
2. Marking and Cutting the Opening
Precision is key for a neat and effective installation.
- Mark the Fan Location: Choose a location that is effective for ventilation (e.g., directly above the shower or cooktop) and where ducting can be easily run. Use the fan’s template or measure the fan’s dimensions carefully to mark the exact opening on the wall or ceiling.
- Cut the Fan Opening:
- For Wall/Ceiling-Mounted Fans: Use a jigsaw or drywall saw to carefully cut out the marked opening.
- For Ducting Hole: Once the fan unit’s position is set, mark the location for the ducting hole on the exterior wall or ceiling/roof. This will typically be a larger circular hole. Use a large hole saw for a clean cut through the exterior wall or ceiling/roof materials. If cutting through brick or concrete, you may need specialized tools or a professional.
3. Installing the Fan Unit
- Mount the Housing: Secure the fan’s housing into the cut opening according to the manufacturer’s instructions. Use screws to firmly attach it to joists, studs, or appropriate blocking. Ensure it’s level.
- Connect Wiring (Qualified Electrician Recommended): This is the most critical step. Connect the fan’s electrical wiring to your home’s electrical system. Ensure all connections are secure and properly insulated. If you are not a qualified electrician, hire one for this step.
- Install Backdraft Damper: Most fans come with a backdraft damper (a flap that prevents outside air from entering when the fan is off). Ensure it’s installed correctly and can open and close freely.
4. Installing the Ducting
The ducting carries the air outside.
- Connect Ducting to Fan: Attach the flexible or rigid ducting to the fan’s exhaust port. Secure it with a duct clamp or tape.
- Run Ducting: Route the ducting along the shortest and straightest path to your exterior vent opening. Use duct hangers or straps to support the ducting and prevent sagging, which can create condensation traps.
- Insulate Ducting: If the ducting runs through an unheated space (like a roof cavity or crawl space), it must be insulated to prevent condensation from forming inside the duct, which can lead to moisture problems and mold.
- Connect to Exterior Vent: Attach the ducting to the exterior vent hood. Secure it with a clamp or tape.
5. Installing the Exterior Vent and Finishing
- Mount Exterior Vent Cover: From the outside, install the exterior vent cover over the duct opening. Secure it with screws and seal around the edges with exterior-grade caulk to prevent water intrusion.
- Install Fan Grille/Cover: Back inside, attach the fan’s decorative grille or cover to the fan housing.
- Test the Fan: Once all connections are secure and the power is safely restored, test the fan to ensure it operates correctly and effectively removes air.
By following these steps, you can successfully install an extractor fan, creating a healthier and more comfortable environment in your home. Remember, when in doubt about electrical work or complex structural modifications, always consult a qualified professional.


